Choose a low-spread dough
Soft, puffy dough loses sharp edges and pressed details. Use a roll-out recipe made specifically for cookie cutters.

Cookie Cutter Lady Help Center
New to cookie decorating? Start here. Learn exactly what each tool does, how to use it, what icing or dough works best, and how to fix the most common problems.
THE SIMPLE PROCESS
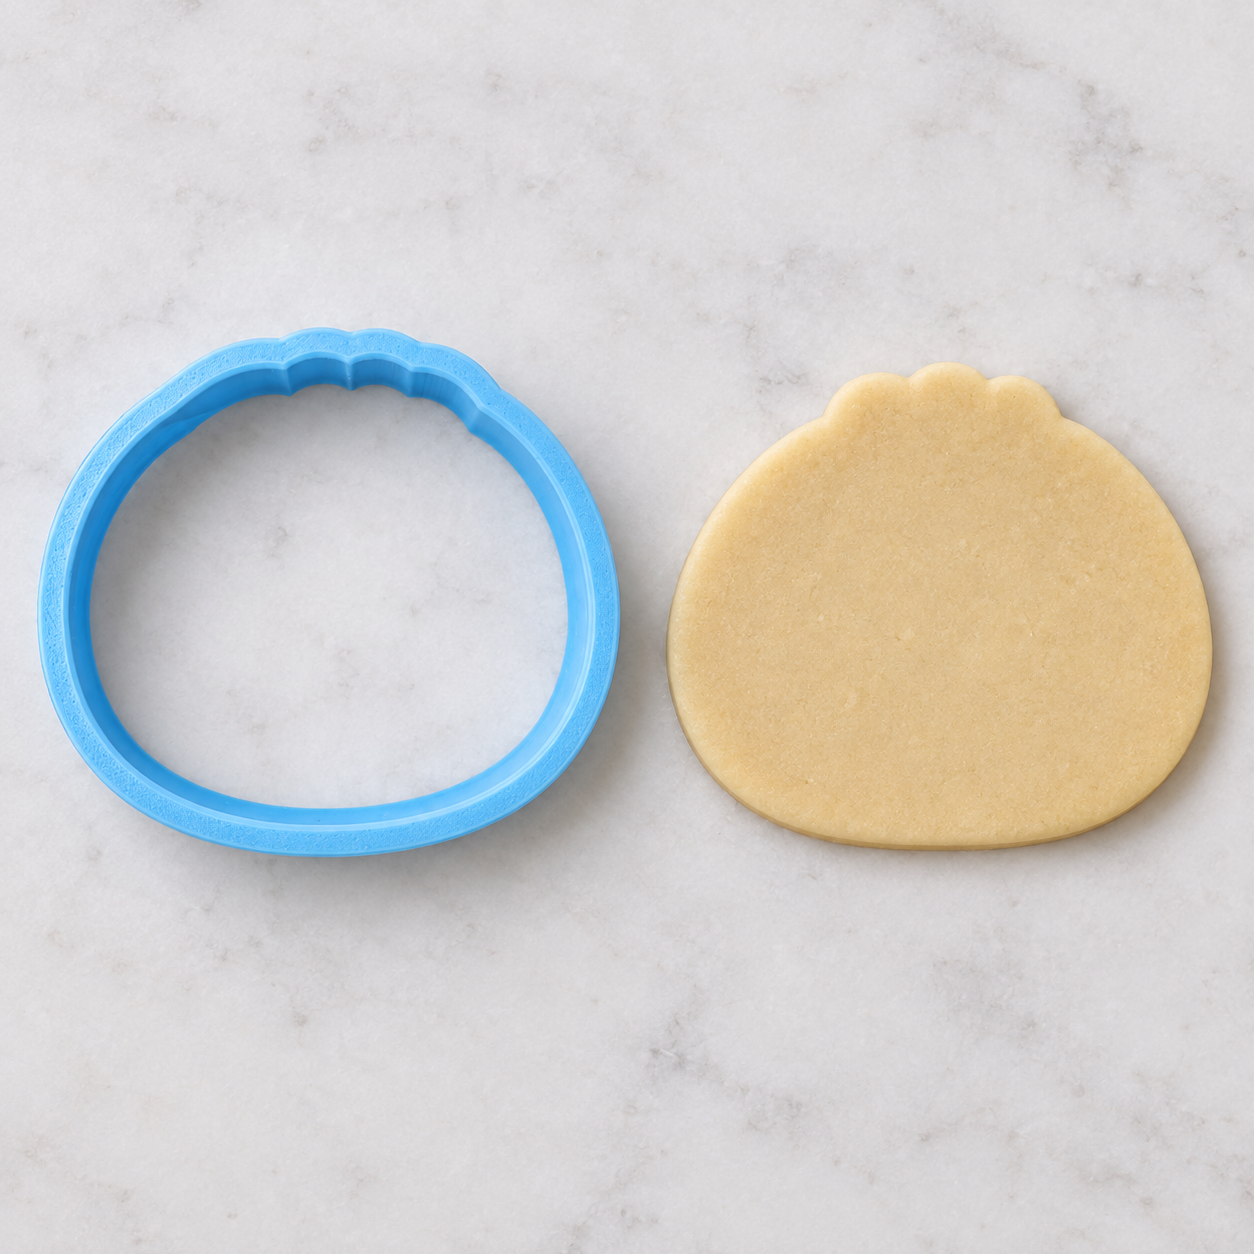


First things first
On our site, these names describe the result each tool makes.
Cuts the outside
CutterCuts the outside shape.
Use with rolled cookie dough, fondant, clay or sandwiches.
Presses detail in
StampPresses detail into the surface.
Best with firm no-spread dough or fondant.
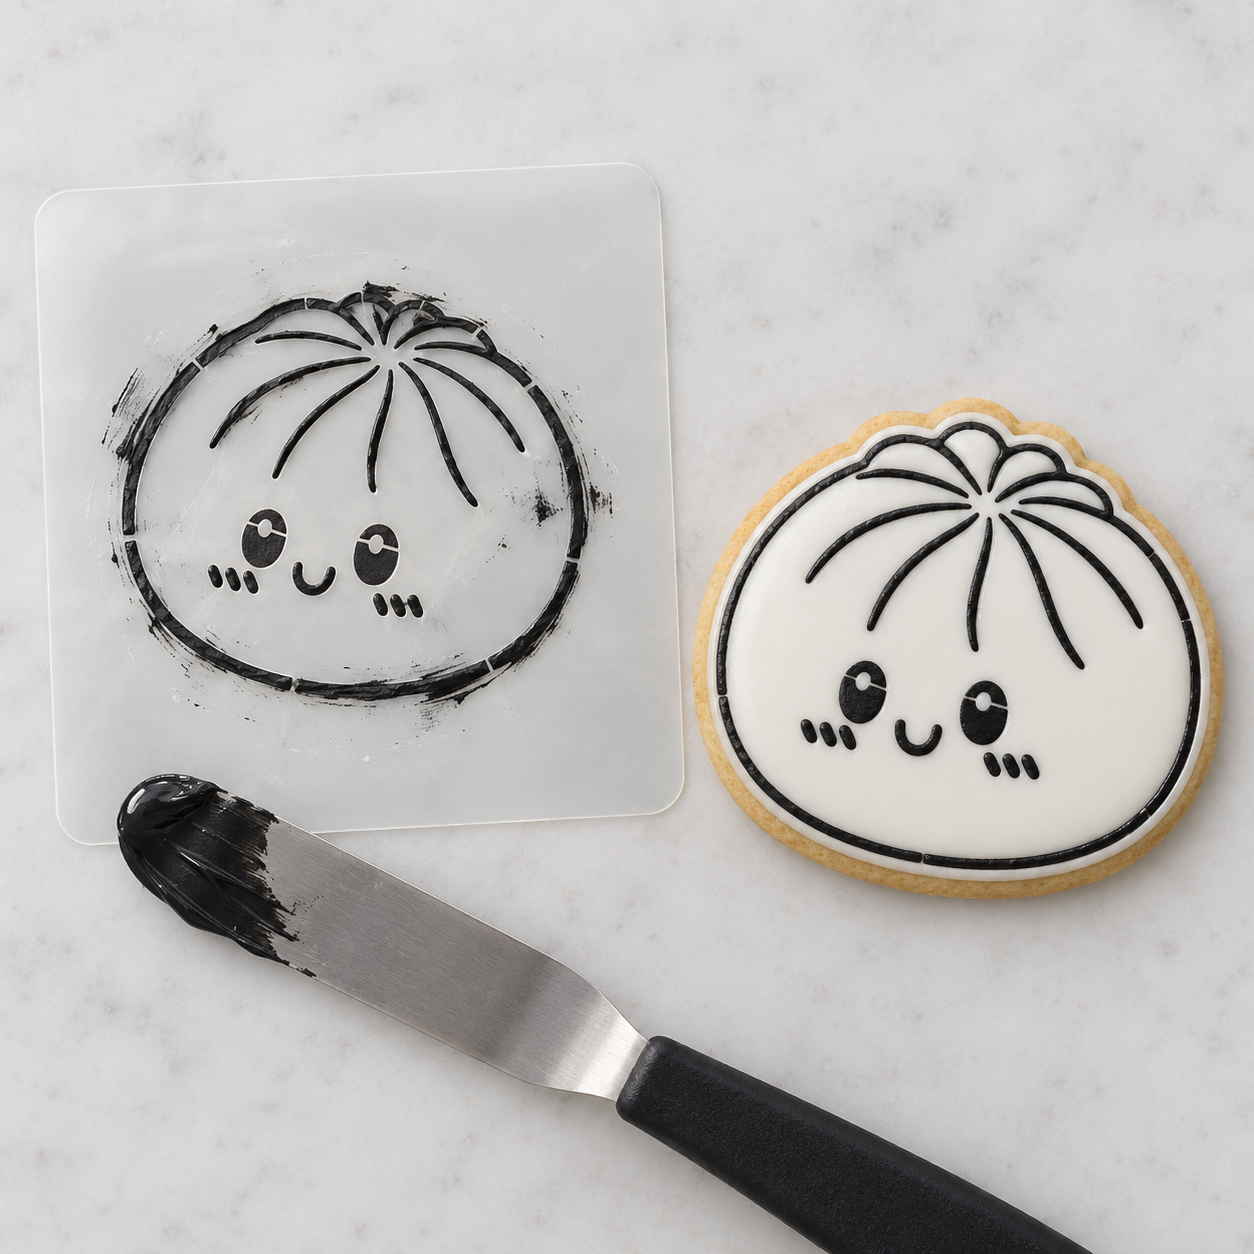 Guides icing or spray
StencilGuides icing, color or spray through cutouts.
Great for royal icing, airbrushing and paint-your-own cookies.
Guides icing or spray
StencilGuides icing, color or spray through cutouts.
Great for royal icing, airbrushing and paint-your-own cookies.
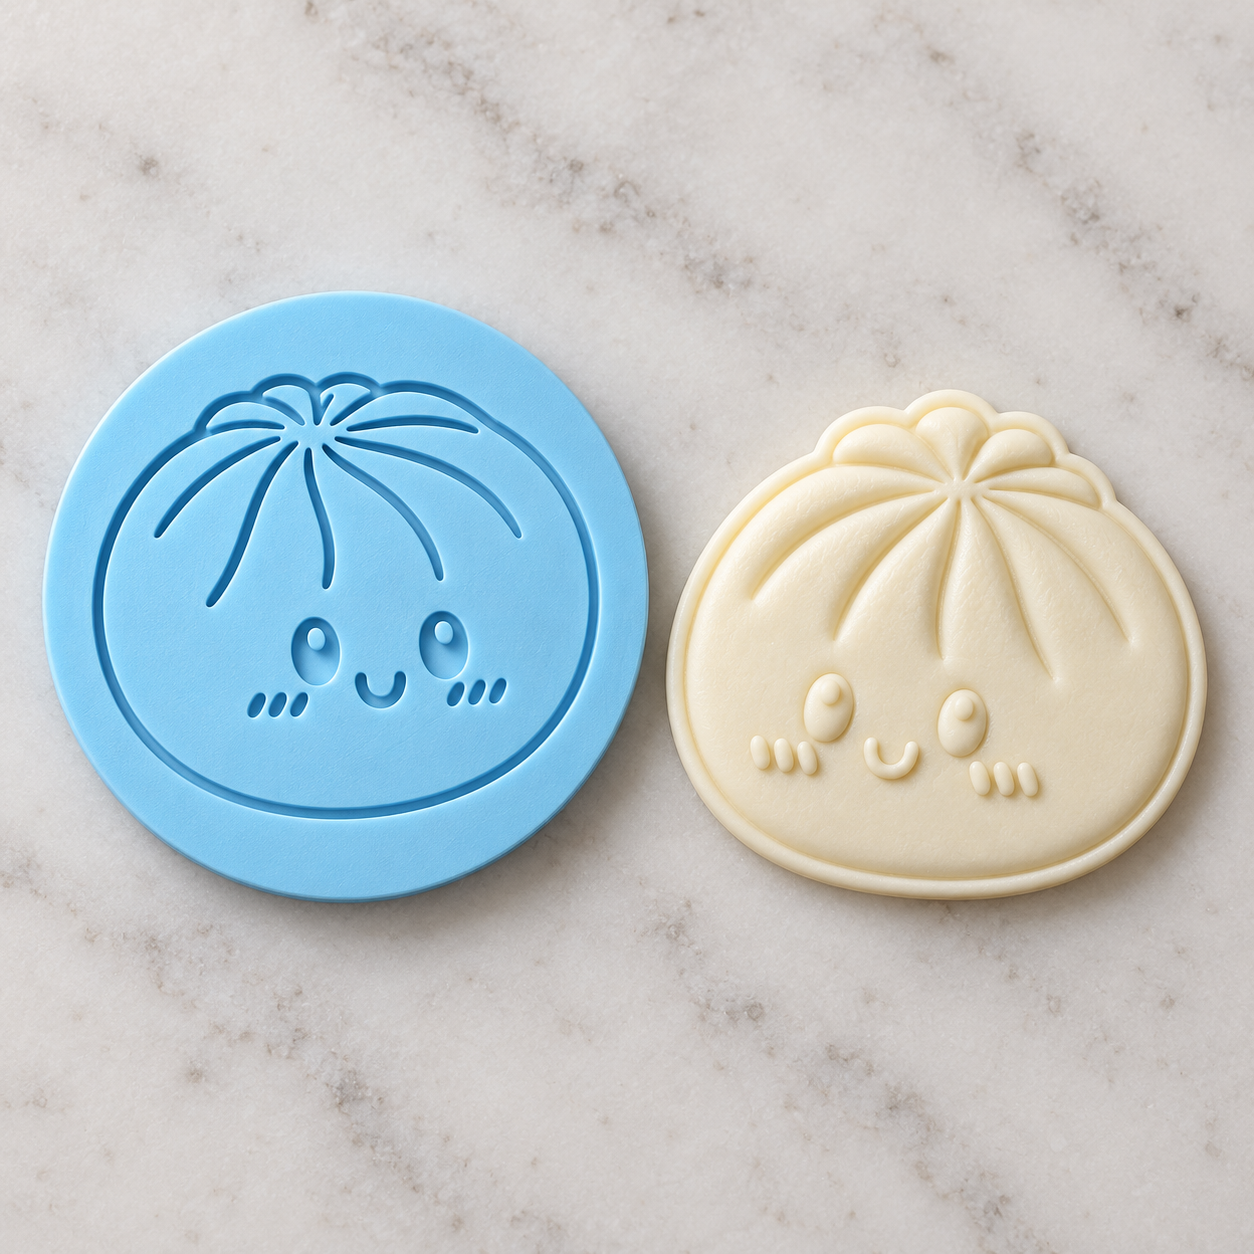 Leaves raised detail
DebosserPresses around the detail for a raised 3D effect.
Fondant gives the clearest, most dramatic result.
Leaves raised detail
DebosserPresses around the detail for a raised 3D effect.
Fondant gives the clearest, most dramatic result.
Your first successful batch
Use this process before trying advanced decorating techniques.
Soft, puffy dough loses sharp edges and pressed details. Use a roll-out recipe made specifically for cookie cutters.
Aim for about 1/4 inch thick. Uneven dough makes one side cut or stamp deeper than the other.
If the dough feels soft or sticky, chill the rolled sheet for 10–15 minutes. Firm dough releases more cleanly.
Use a very light coat of flour on dough tools, or cornstarch on fondant. Tap away excess so fine details stay clear.
Use even pressure. Do not twist stamps or detailed cutters; twisting smears the design and stretches the shape.
Chill cut cookies again for 10 minutes if they softened while working. Bake on a cool, flat lined pan.
Use it correctly
No decorator vocabulary required
Consistency means how thick or thin the icing is. Start thick and add water one drop at a time.
Holds peaks and barely moves. Use this for scraping across stencils so it does not run underneath.
Looks like: thick toothpasteFlows from the bag but keeps its shape. Use for borders, lettering and detail lines.
Looks like: soft toothpasteSettles into a smooth surface after piping. Use it to fill outlined cookies—not for stencil scraping.
Looks like: warm honeyWatch it happen
Tap a video to watch it here without leaving the guide.
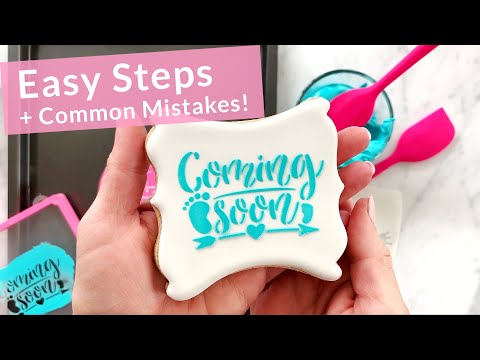 ▶
STENCILSStencil with royal icingTips, tricks and common mistakes from The Cookie Countess.Watch on YouTube ↗
▶
STENCILSStencil with royal icingTips, tricks and common mistakes from The Cookie Countess.Watch on YouTube ↗
 ▶
ICINGNo-fail royal icingA beginner-friendly royal icing walkthrough.Watch on YouTube ↗
▶
ICINGNo-fail royal icingA beginner-friendly royal icing walkthrough.Watch on YouTube ↗
 ▶
STAMPSUsing a 3D-printed cookie stampSee a 3D-printed stamp press clean recessed detail into rolled fondant.Watch here ▶
▶
STAMPSUsing a 3D-printed cookie stampSee a 3D-printed stamp press clean recessed detail into rolled fondant.Watch here ▶
 ▶
RAISED DETAILUsing a raised fondant stampA visual guide to crisp, dimensional fondant details.Watch on YouTube ↗
✦
AIRBRUSHINGEasy airbrush techniquesLearn light passes, straight-down spraying and layered stencil color.Open video guide ↗
☆
BAKINGNo-spread cut-out cookiesStart with dough designed to keep sharp cutter edges.Open recipe guide ↗
▶
RAISED DETAILUsing a raised fondant stampA visual guide to crisp, dimensional fondant details.Watch on YouTube ↗
✦
AIRBRUSHINGEasy airbrush techniquesLearn light passes, straight-down spraying and layered stencil color.Open video guide ↗
☆
BAKINGNo-spread cut-out cookiesStart with dough designed to keep sharp cutter edges.Open recipe guide ↗
External resources are credited to their original creators and may open in a new tab.
Something went wrong?
Open the problem that looks like yours.
Use a low-spread roll-out recipe. Measure flour accurately, avoid overly soft butter, chill the cut cookies before baking and never place dough on a hot baking sheet.
Chill the dough until firm. Lightly dust the stamp, tap away extra flour, press once and lift straight up. Warm or high-moisture dough sticks most.
The dough is spreading or puffing. Switch to a no-spread recipe, skip recipes with heavy leavening, make the impression deeper and chill before baking.
Roll slightly thinner and make sure the work surface is flat. Lightly flour the cutting edge and press evenly until it touches the surface. Do not rock or twist.
Keep the stencil completely flat. For icing, use stiff icing and scrape in one direction. For airbrushing, use light dry passes while aiming straight down. Lift vertically.
Your icing is too thin or you are pressing too hard. Add powdered sugar to thicken it, hold the stencil flat and scrape only until the openings look filled.
Knead until flexible before rolling. Use only a tiny amount of cornstarch. If needed, knead in a very small amount of vegetable shortening and keep unused fondant covered.
Roll the fondant a little thicker and press more evenly. Make sure the tool’s background reaches the fondant. Fondant produces a sharper raised effect than soft cookie dough.
You are applying too much color at once or holding the airbrush too close. Back up slightly, reduce flow and build color using several light passes.
Protect your tools
Quick answers
For the easiest alignment, stamp first and then center the matching cutter around the impression. If your set is designed as a fitted two-piece tool, follow the product photos for orientation.
Yes. Firm, chilled no-spread dough works best. Fondant usually gives the crispest fine detail, but many designs work beautifully directly in dough.
No. Cutters work with dough, stamps can work with dough, and stencils work over royal icing. Fondant is simply the easiest surface for very crisp stamped or raised details.
No. Remove every tool before baking. The tools are for shaping unbaked dough or decorating cooled cookies only.
No. Nothing goes in the dishwasher. Hand-wash every cutter, stamp, debosser and stencil using only lukewarm soapy water, then rinse and dry completely.
Product art shows the design possibilities. Dough spread, icing consistency, pressure, color and decorating method all affect the final result. Start with the beginner workflow above.
Still stuck?
Include your order number, a photo of the tool, a photo of the result, which dough or icing you used and the exact step that went wrong.